> ## Documentation Index
> Fetch the complete documentation index at: https://rive.app/docs/llms.txt
> Use this file to discover all available pages before exploring further.
# Inputs
> ⚠️ DEPRECATED: Use Data Binding instead of Inputs for controlling Rive animations
**DEPRECATION NOTICE:** This entire page documents the legacy Inputs system.
**For new projects:** Use Data Binding instead.
**For existing projects:** Plan to migrate from Inputs to Data Binding as soon
as possible. **This content is provided for legacy support only.**
For more information on creating Inputs in Rive, please refer to: [Inputs](/editor/state-machine/inputs).
## Controlling state machine inputs
Once the Rive file is loaded and instantiated, the state machine can be queried for inputs, and these input values can be set, and in the case of triggers, fired, all programmatically.
Inputs can also be set on components at runtime, see [Nested
Inputs](#nested-inputs) below.
This functionality is deprecated. We recommend using [react-native/Data Binding](runtimes/react-native/data-binding).
You can access the methods to control data binding input on the view reference:
```ts theme={null}
export default function StateMachineInputsExample() {
const { riveViewRef, setHybridRef } = useRive();
const { riveFile } = useRiveFile(require('../../assets/rive/rating.riv'));
useEffect(() => {
if (riveViewRef) {
try {
// Original value
console.log(
'Number value: ',
riveViewRef.getNumberInputValue('rating')
);
// Set the value of the input
riveViewRef.setNumberInputValue('rating', 3.0);
console.log(
'Number value: ',
riveViewRef.getNumberInputValue('rating')
);
// Add a delay to allow the view controller to be ready
setTimeout(() => {
console.log(
'Number value after delay: ',
riveViewRef.getNumberInputValue('rating')
);
}, 16);
} catch (err) {
console.error(err);
}
}
}, [riveViewRef]);
return (
{riveFile ? (
) : null}
);
}
```
### Inputs
With the React Native runtime, most methods/triggers are available on the ref of the `Rive` component, including setting input values/triggering for state machines. In this case, there is no need to acquire an instance of an input. Simply set the input state from the Rive `ref` or fire an input state.
```javascript theme={null}
export default function StateMachine() {
const riveRef = React.useRef(null);
// Maintain the values of your state machine in React state
const [selectedLevel, setSelectedLevel] = useState('2');
const setLevel = (n: number) => {
setSelectedLevel(n.toString());
// No need to acquire an instance of a state machine input, just set the
// input state on the `riveRef` itself
riveRef.current?.setInputState("Designer's Test", 'Level', n);
};
return (
setLevel(parseInt(newValue, 10))}
value={selectedLevel}
>
{'Beginner'}{'Intermediate'}{'Expert'}
);
}
```
See the [React Native API's](/runtimes/react-native/rive-ref-methods#.setinputstate) to learn more about the parameters for `.setInputState()` and `.fireState()`
## Nested Inputs
**⚠️ DEPRECATED FEATURE:** Nested Inputs are part of the legacy Inputs system.
**Use Data Binding instead** for controlling
component properties at runtime.
You can control the inputs of [Components](editor/fundamentals/components) at runtime. These inputs are not on the main artboard but on a component. To set a nested input, you need to know the **path** where the input exists at an artboard level.
#### Example
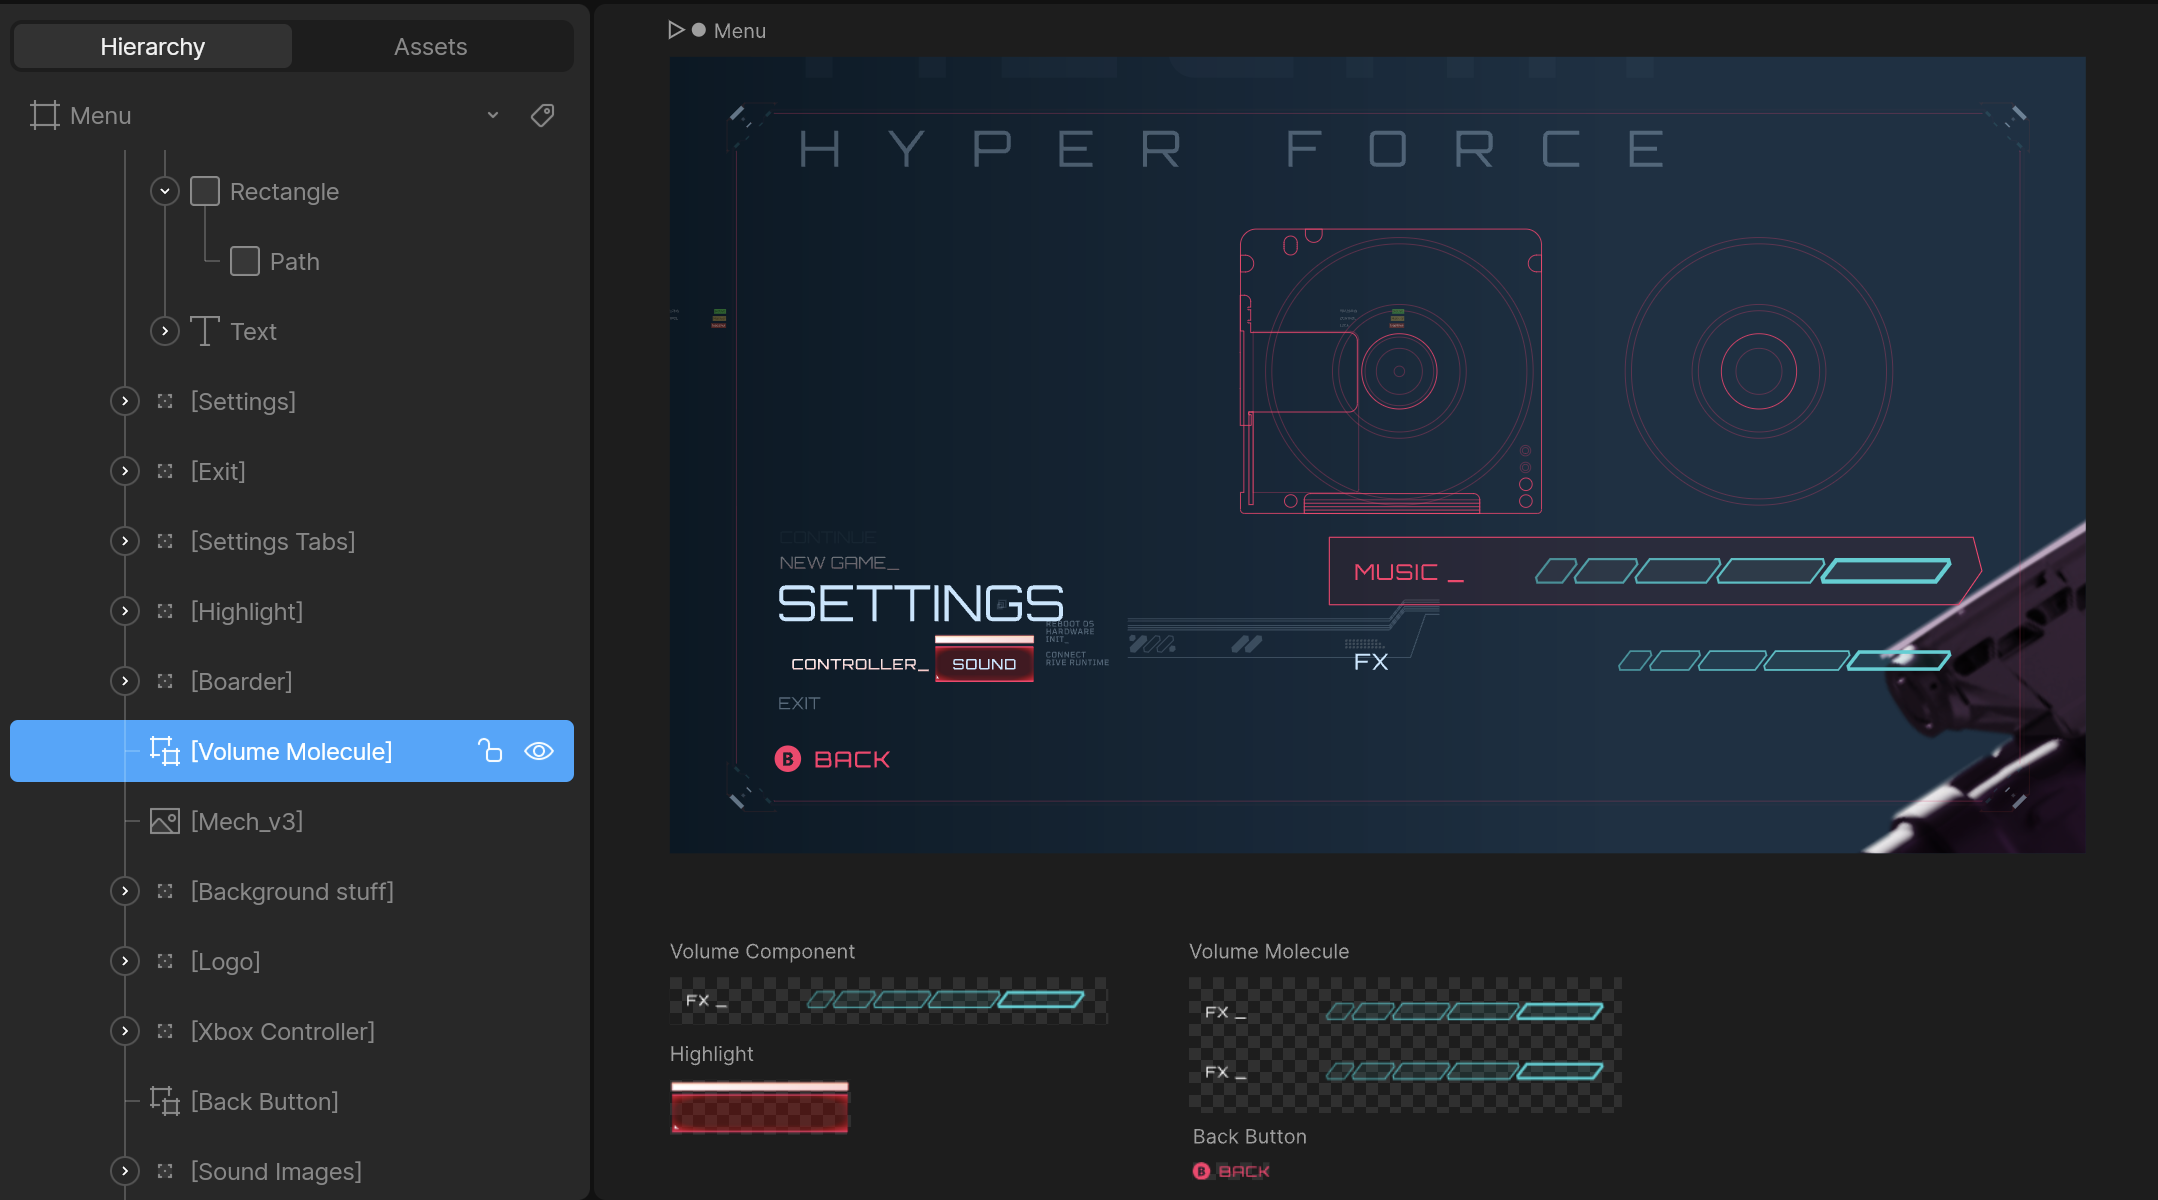
* Use the artboard's unique **hierarchy name**, not the **artboard's name**.
* Do not include the name of the main artboard. In the example above, the path is `Volume Molecule`, not `Menu/Volume Molecule`.
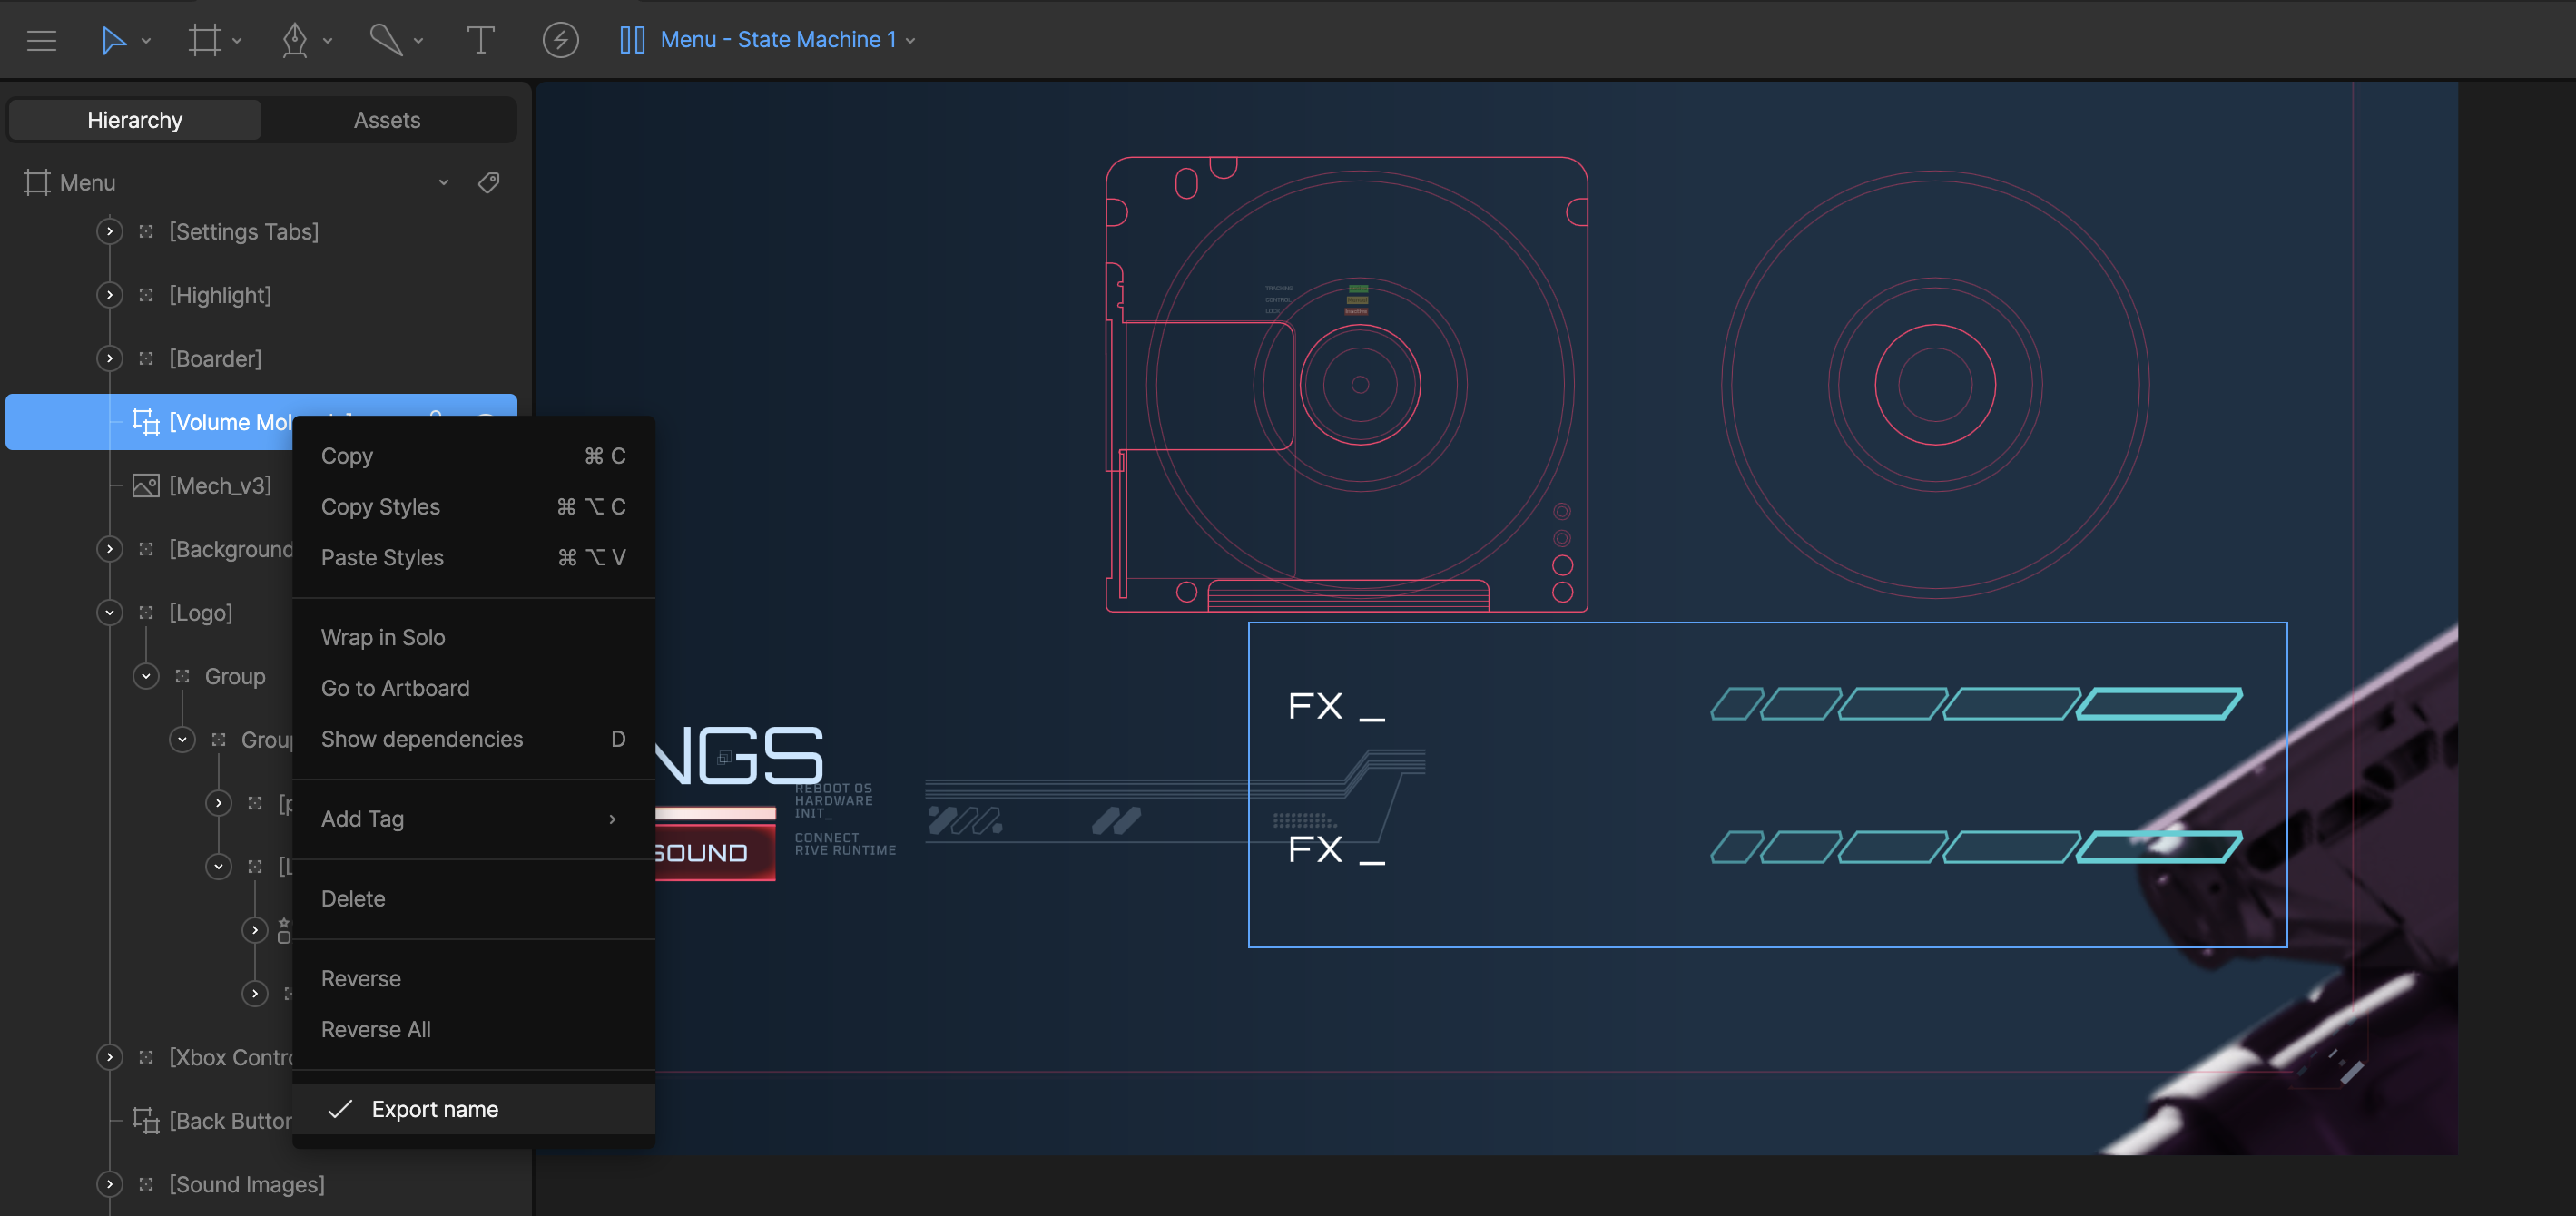
* Ensure the components are [marked as exported](/editor/exporting/exporting-names) in the editor to access them at runtime:
You can go as many components deep as needed. For example, the **Volume Molecule** artboard shown above has two components with the following unique hierarchy names:
* `Volume Component`
* `FX Component`
Once you go more than one component deep the path will be a `/` separated
string of the unique hierarchy names.
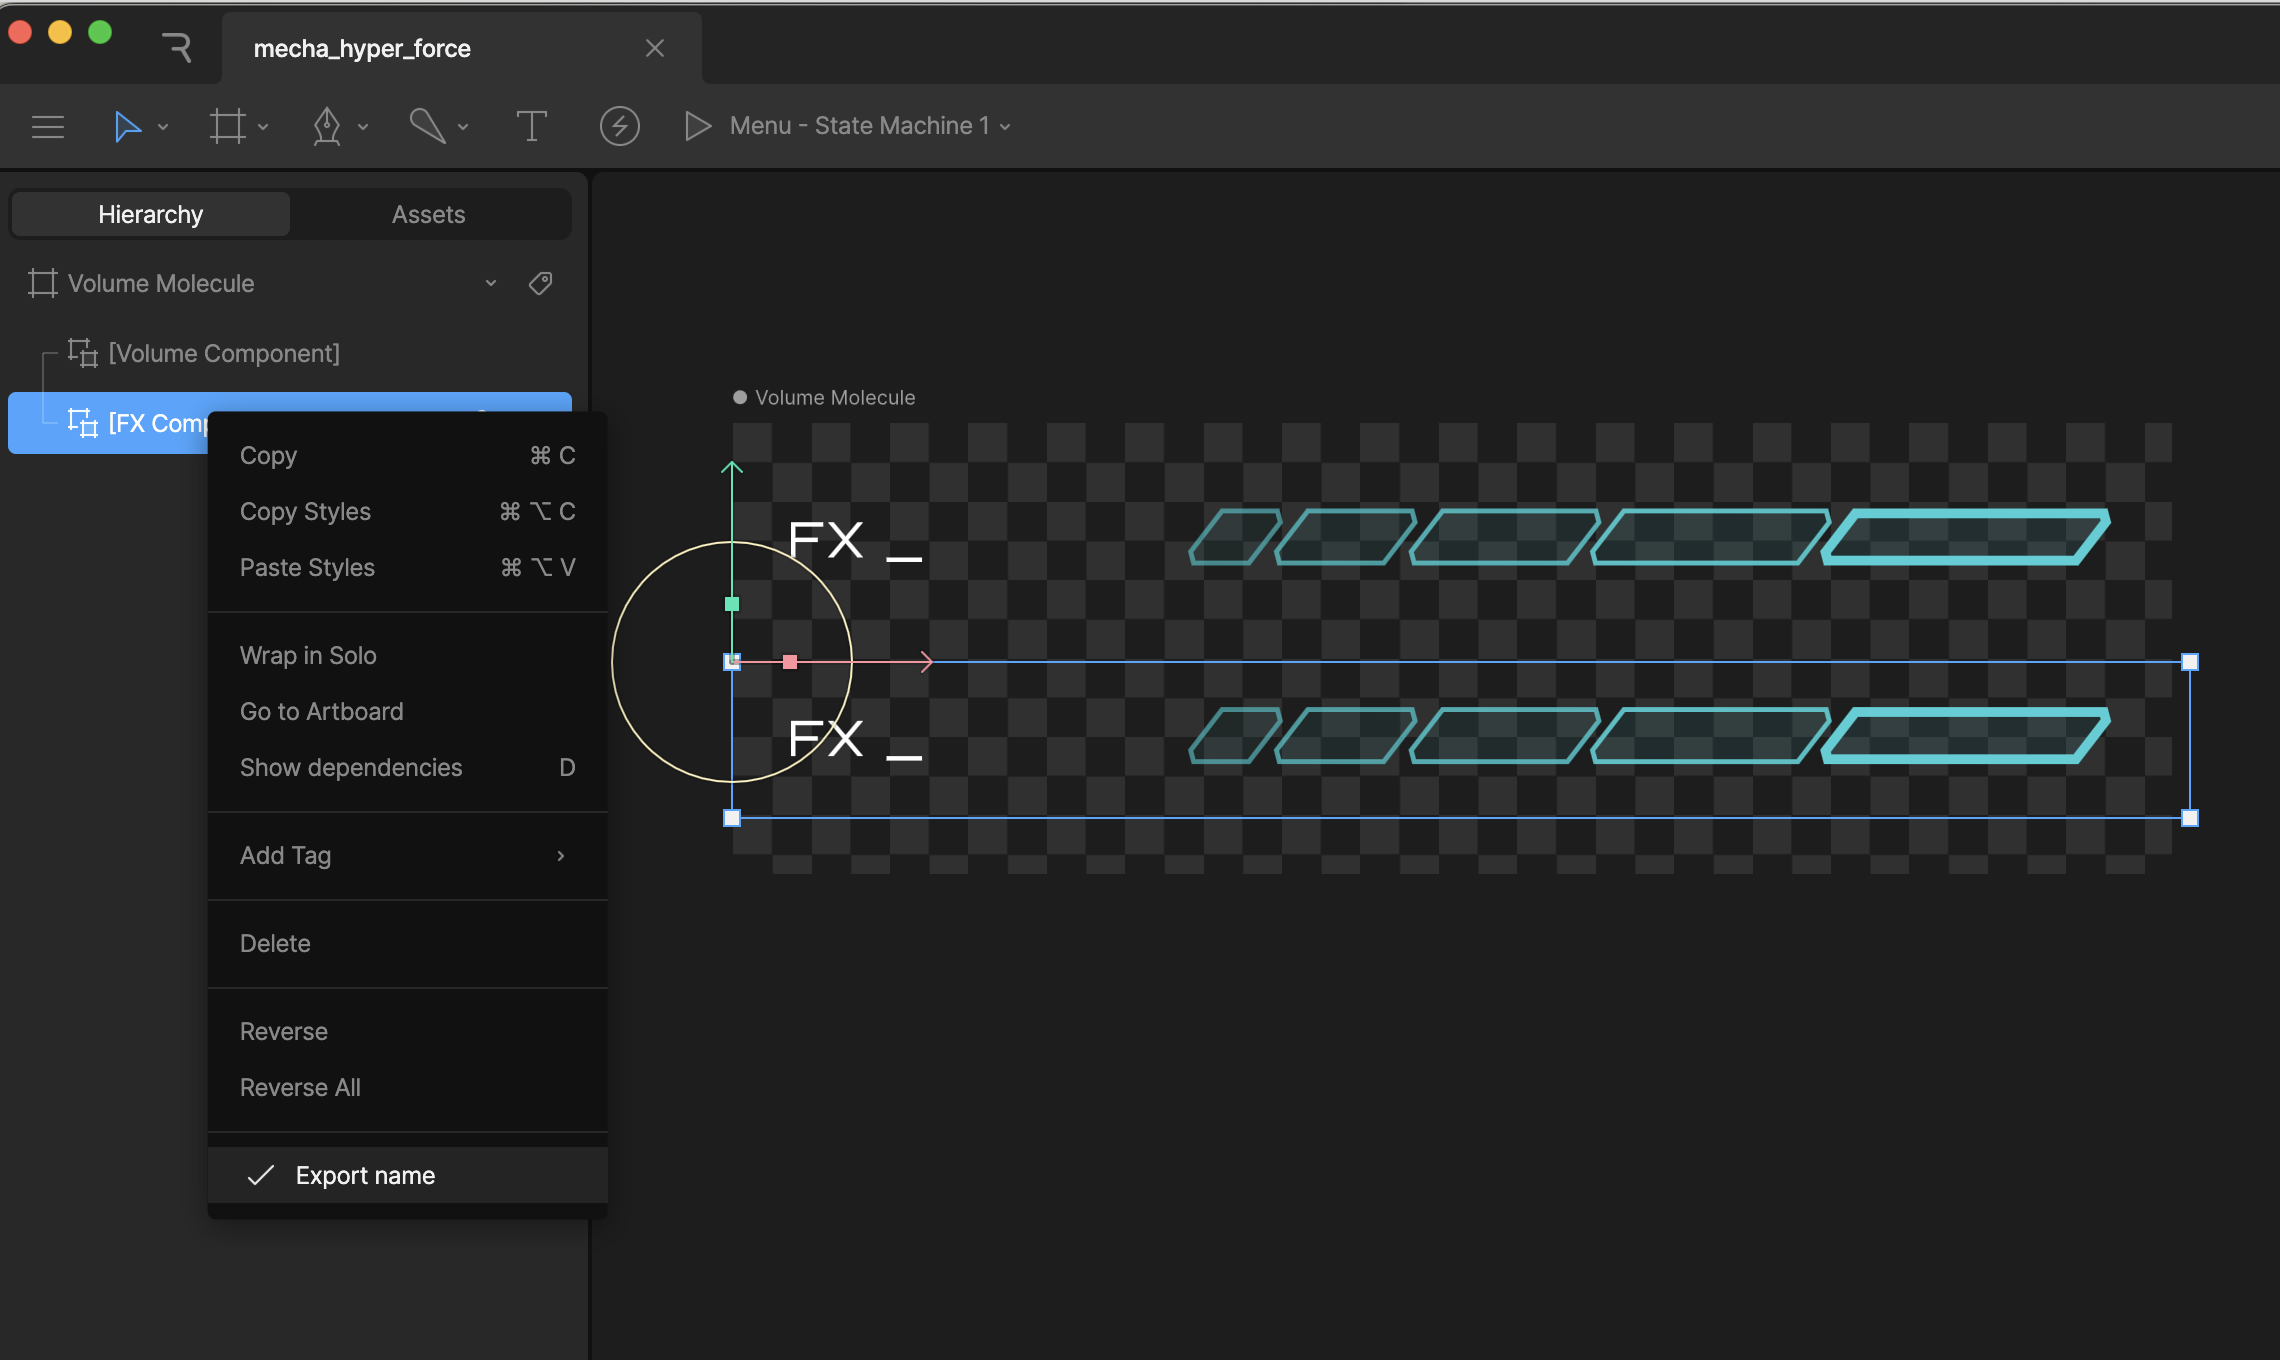
If you load in the **Menu** artboard at runtime, and want to get/set an input on the `FX Component` artboard, the path will be `Volume Molecule/FX Component`
Do not use `/` in the name for your components, as that will break the search
functionality at runtime.
**Note:** The new runtime recommends using [Data Binding](/runtimes/react-native/data-binding) instead of the legacy Inputs system for controlling nested component properties.
The new runtime primarily uses data binding for controlling nested properties. See the [Data Binding documentation](/runtimes/react-native/data-binding) for details.
For examples of using data binding with nested properties in the new runtime, see the [example app](https://github.com/rive-app/rive-nitro-react-native/blob/main/example/src/demos/QuickStart.tsx).
To set the **Volume** input for the above example:
```tsx theme={null}
riveRef.current?.setInputStateAtPath("volume", 80.0, "Volume Molecule/Volume Component");
```
**All options:**
* `setInputStateAtPath(inputName: string, value: boolean | number, path: string)`
* `fireStateAtPath(inputName: string, path: string)`